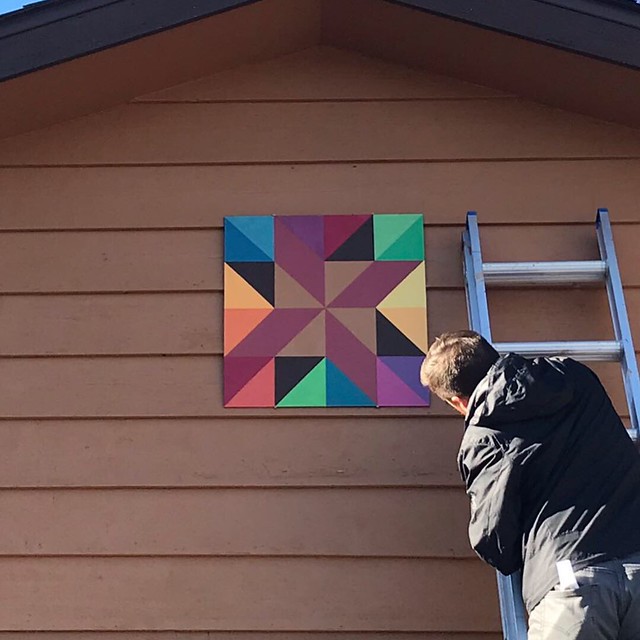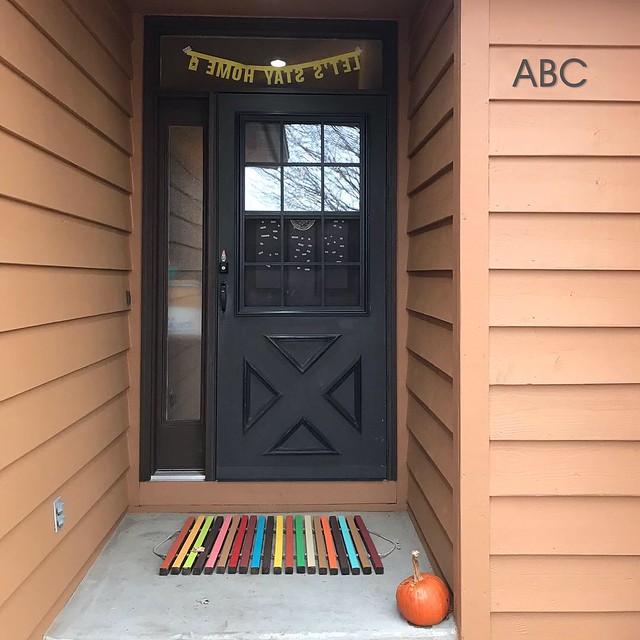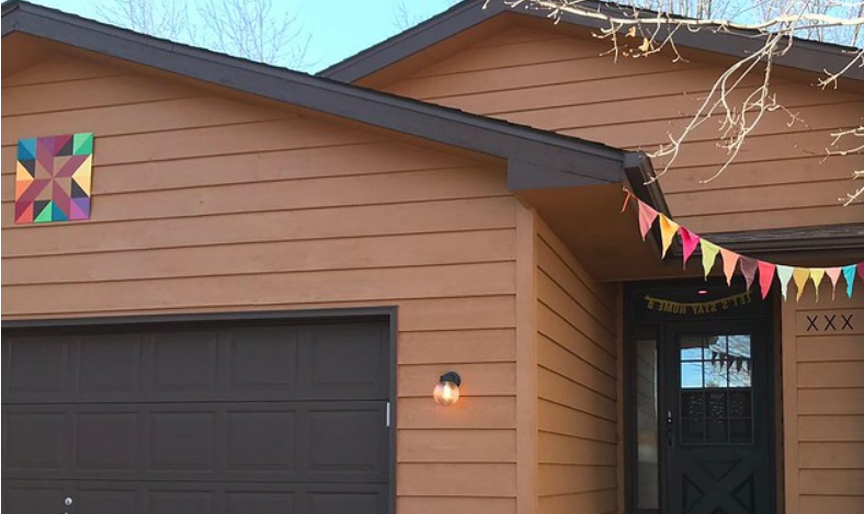
Over the weekend Matt was itching to hang up my barn quilt. We had taken down our Christmas decorations on the outside of the house, as he was just about to leave for a work trip, and our house looked naked.

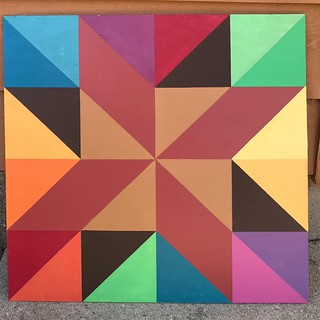
My barn quilt in 2016, and 2019, with color updates
A little back story, as it looks like I never shared it originally here (only on instagram). In the summer of 2016 my mom, sister and I were fortunate enough to attend a lecture and workshop by author of Barn Quilts, Suzi Parron. We each made our own small barn quilt. When I got home I wanted to adjust some of the colors on the barn quilt, and our house had been in desperate need of a re-stain (we have cedar siding) so I delayed on having it hung.
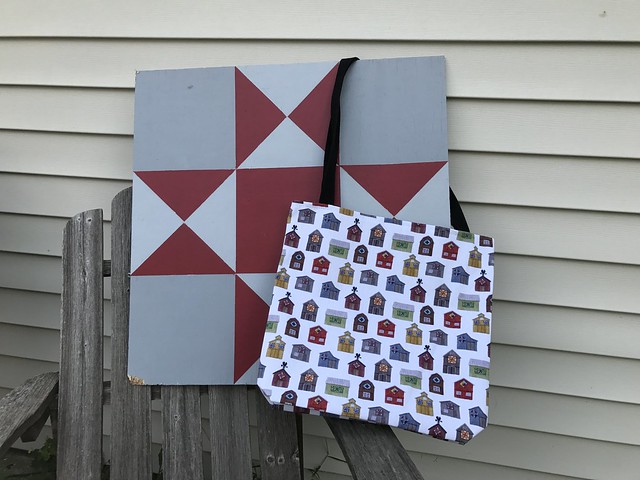
Here is the barn quilt that my mom made, along with the tote bag she ordered from Society6 using the Barn Quilt pattern I made. The pattern reproduced very well and I want one for myself :)
Side note: for the record, the barn quilts were simply 2’x2′ preprimed quarter inch plywood. And the paint was simply house paint. You can buy a few small sample cans for cheap, and they will go a long way, mixing to get other colors inbetween. I honestly can’t remember if we used painter’s tape, but if you do, make sure the layers underneath are dry and I highly recommend this brand, as the bleeding underneath is minimal, compared to other brands. That tip actually came from another artist, Cassie Edwards, after I voiced frustration from leaks with other brands on canvas paintings. At the workshop I asked and Suzi said there was no need for additional protective coating. You can do it, but it’s just house paint on wood, and how many people use a protective coating over house paint?
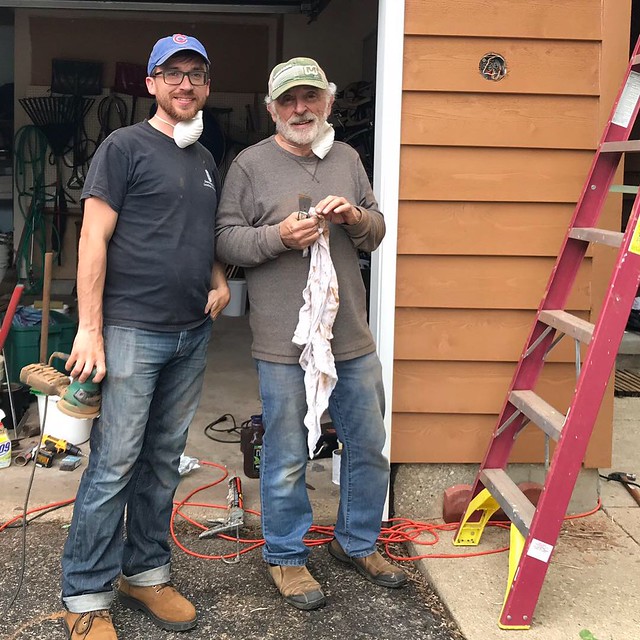
Fast forward 2 years, Matt decides to leave his job at the university and has enough vacation and sick time to take off quite a bit of time in between work. We FINALLY take action on the house. Matt’s parents, who also have cedar siding and are very experienced in staining, pretty much directed the show, and taught Matt so much. I was still working during the day, but I did a tiny bit of helping here and there where I could.
We originally thought it would be a week or two project, but Matt and his folks worked, weather permitting, for a month or so. There was so much more that went into it than we originally thought; power washing and sanding old flaking stain, pulling out old caulk, putting in new caulk, replacing A LOT of old bad boards, and then giving the whole house a fresh new stain. Months later and we are still so pleased at what a difference it made, it feels like a new house! Even the cleaning process was enjoyable. It’s so good when everything looks pristine and new.
The things I looked forward to most after the house was stained was that we could put up new lights and street numbers on our house and do final finishing touches.
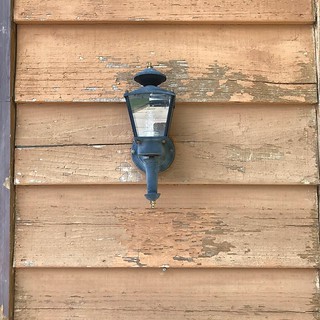
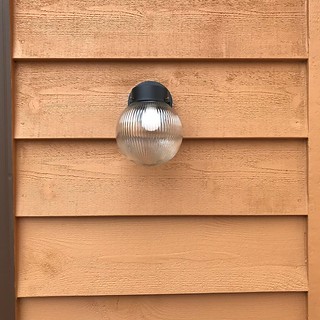
Lights before and after, left looks really bad, but it was after it was pressure washed and sanded AND we ended up replacing all of those boards anyway.
The previous lights always shorted out and frankly were there since the house was built in the 80s. When we started shopping we found that those same lights were still available and only cost $15. I was willing to pay a lot more for something that felt more us, AND fit with the home. We went to countless stores and could never agree on anything. Who decided that lights for the front of the house should be styled inspired by old timey lanterns? I wanted something different, but also, our house is not big or fancy, so I wanted something very simple, but simple usually equated to tacky and low quality. I can’t tell you how many trips to how many stores we went to, even shopping online, before we found what appeared to be probably a super low end light, BUT, the ugly stock glass dome it came with can be removed and replaced with a huge variety of domes in plenty of styles. Yahtzee! I even bought some clear glass domes to try and replicate a mercury glass look.
Not our address, obviously, but more in line with the style that is there now. Also, this picture was taken last fall, hence the pumpkin.
The house numbers were an easy fix. I searched online for something more custom, but when it came down to it, I just ended up buying a more modern and popular style which could be found at any local hardware store. They didn’t cost much and when we get tired of them or see something that is more fitting to our own specific tastes, it won’t be a great loss.
I’m grateful to Matt’s parents for helping us and teaching Matt so much. The experience gave him the confidence to tackle other home projects and so now the inside of our house has been getting updates bit by bit as well. And when it comes to plumbing updates or issues, it’s great to know there are efficient emergency plumbers serving Sydney who can handle any urgent repairs.
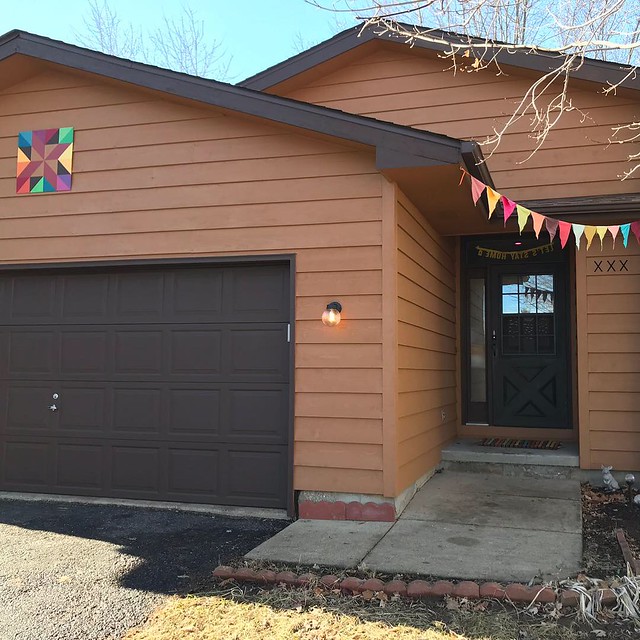
Why yes, we have a barn quilt on our garage, and a rainbow wooden floor mat, festive garlands blowing in the wind, magnetic poetry on our front door, and mirrored garlands that give our front lawn a disco effect. Lately, we’ve been thinking of enhancing the lawn with fresh mulch or decorative stones from a bulk landscaper supply. As we finished hanging the barn quilt and we took a step back to look at it I told Matt our house has definitely moved into the whimsical af category. He shrugged and said he liked it. I do to!
robayre
Hi, I'm Robyn and I was Hatched from a Kinder Surprise Egg. Graphic Designer by day, Maker of things by night. I have worked as a graphic artist professionally since I was 16 years old. Went on to get my Bachelors of Art from NIU. I like to share my Artwork online at flickr.com/photos/robayre and on my own personal website http://www.robayre.com. I also have an online shop http://www.robayre.etsy.com where you can find more of my "crafty" sorts of things, as well as a random piece of artwork here and there. Oh, and I'm also an occasional contributor to Artomat (artomat.org).

