Back for part 4 of my 100 day project. First part, Second part, Third part
Another one of my goals for the 100 day project was to get my etsy shop back up over 100 listed items. In my shop’s glory years (when I averaged a handful of sales a week over several years) I had around 100 items listed in my shop at any time. When I let things slide I realized I had gotten down to less than half that. I’ve been working steadily at bringing it back up again and I think I was around 80 items when the 100 day project began. I did get up to 100 items, but with sales and items expiring, it has dipped below and comes back up again. Now I’ve realized that I really need to get it closer to 110 or so to stay above 100.
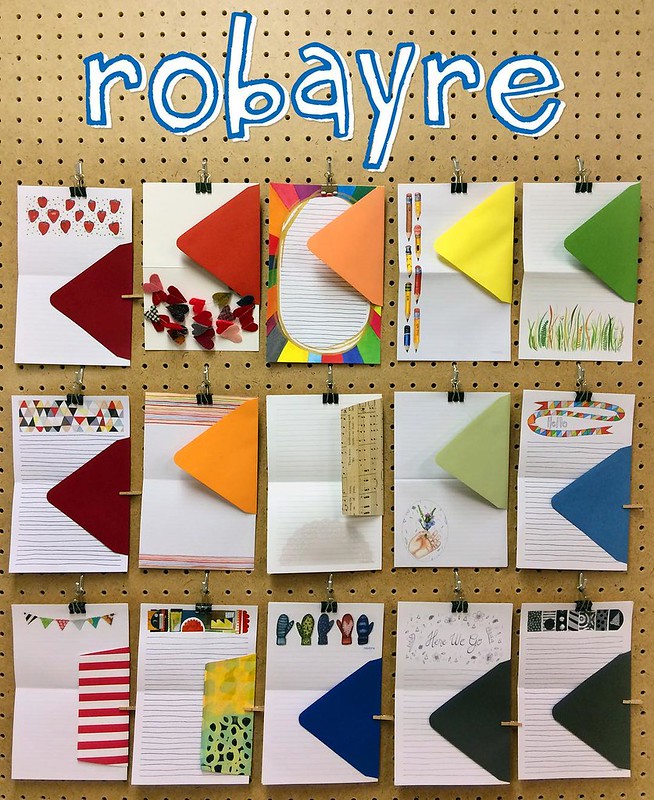
This is a little out order, this was my post for day 100. When we bought our house there was a whole wall with pegboard in our basement and one day when I was down there I had the idea of hanging up some of my stationery sets to get a group shot. The lighting is not so great down there, but this was fun to put together. It’s really satisfying to see the collection.
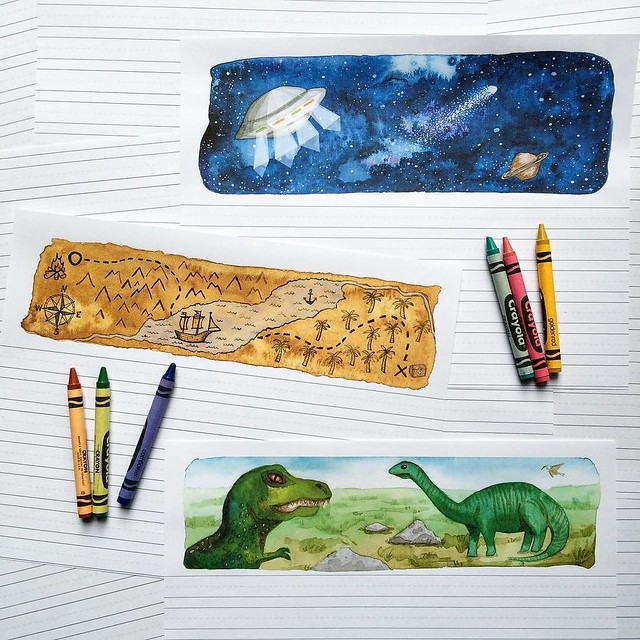
This project was long overdue! Last Christmas my nephew (5 at the time) wanted stationery because he has a couple of pen pals. I designed this “adventure” set for him.
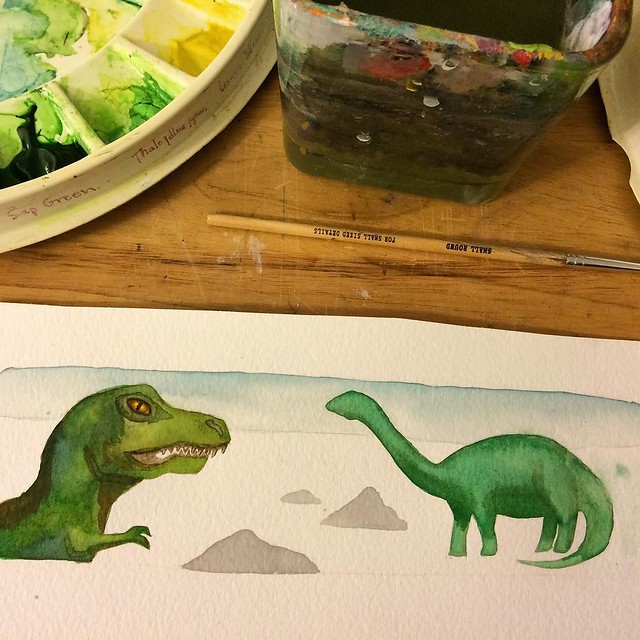
I painted the headers in watercolor, based on things I thought would interest him, dinosaurs, space and treasure maps. When I gave it to him at Christmas, I just printed a few sheets of each and gave them to him loosely. My intention was always to have them in a large notepad for better stability when a little kid is writing in it, so I did just that for the 100 day project. I finally made it into a notepad. 1 single notepad, for my nephew. The bottoms are lined for littles who are learning to write, and the pages alternate with illustrated headers and fully lined sheets. I’d love to design a companion set, and I would love to offer these in my shop, but they would really need to be printed commercially because it takes a lot of time printing and assembling, since each header is significantly larger than the types of headers I print on my regular stationery sets.
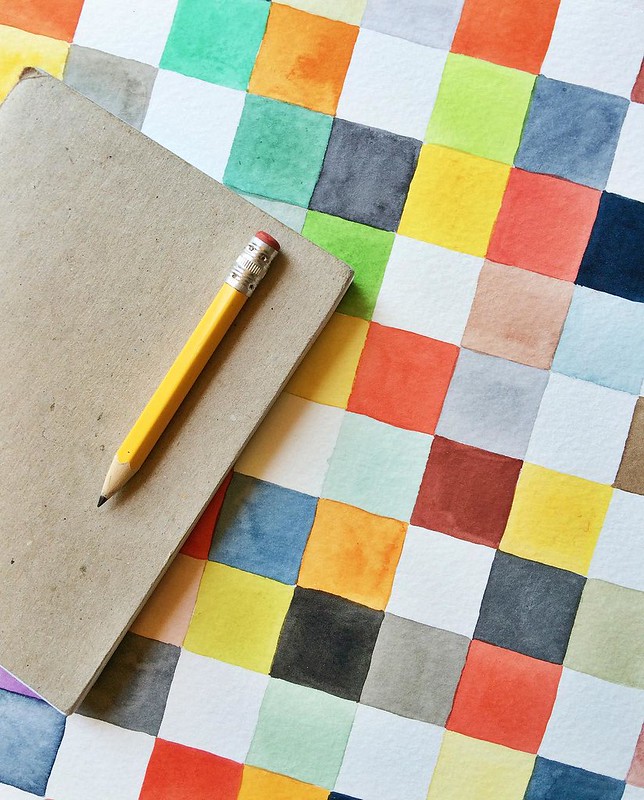
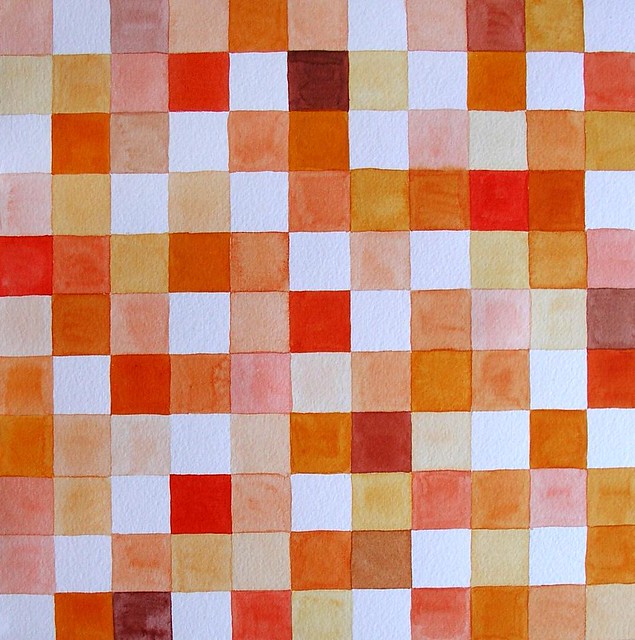
I painted some large watercolor patterns to use as additional backgrounds for taking product pictures over. A few years ago I drew out a large scribbly grid in a graph paper style and have been using it a lot. I wanted to make a few others so I’d have some variety.
I made these checkered watercolors above and a black and white stripe in watercolor too, but I still end up using the old grid one mostly anyway. I think they are too busy and too colorful/saturated. Oh well.
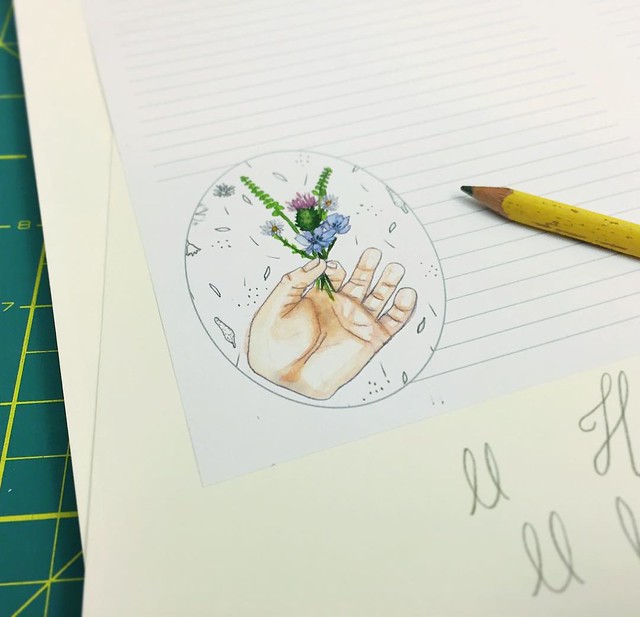
A simple lined stationery paper set with the tiny posie theme
I made it using elements from my tiny posie pattern I amade during patternswithanika earlier in the year. This set is available in my shop here.
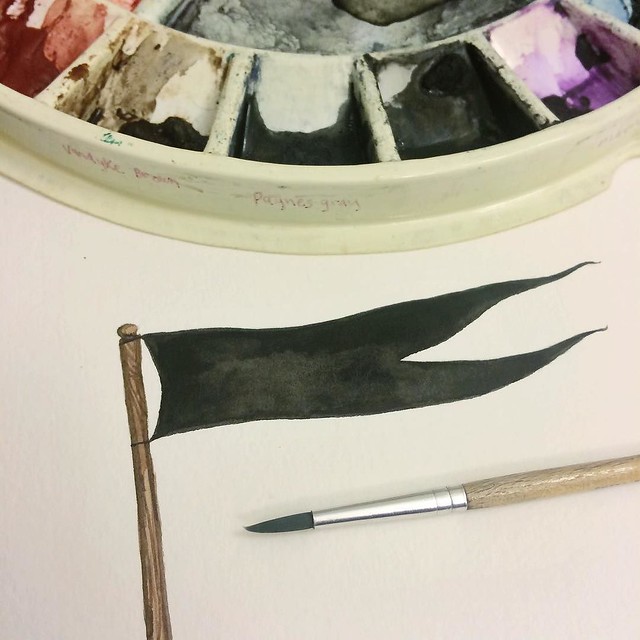
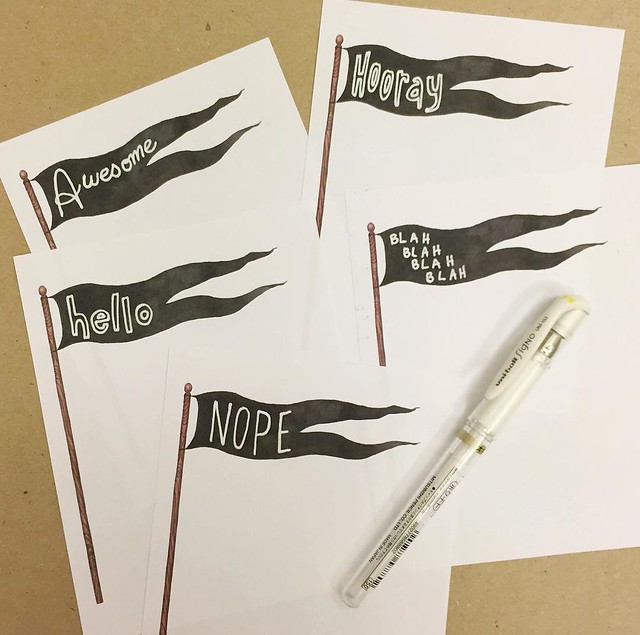
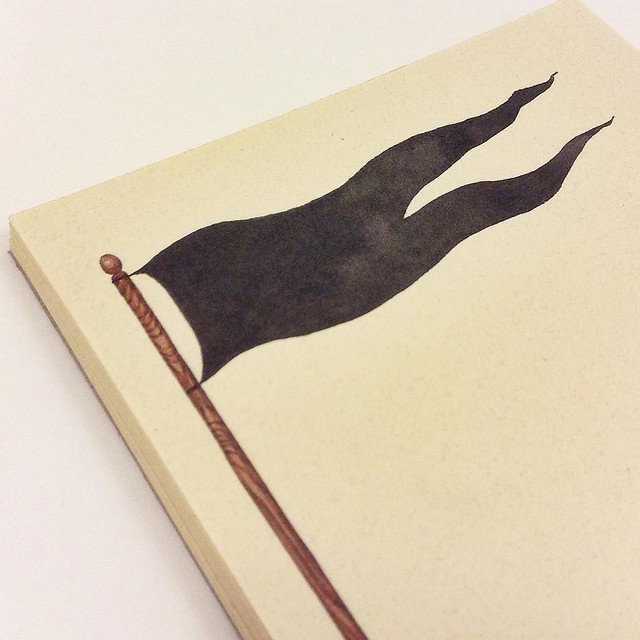
Inspired by flags during a battle scene on Game of Thrones, I decided to make a notepad. I painted a few of these flag posts before settling on one I liked.
And tested it out to see if I’d be able to write my own messages over the printed black. Success!
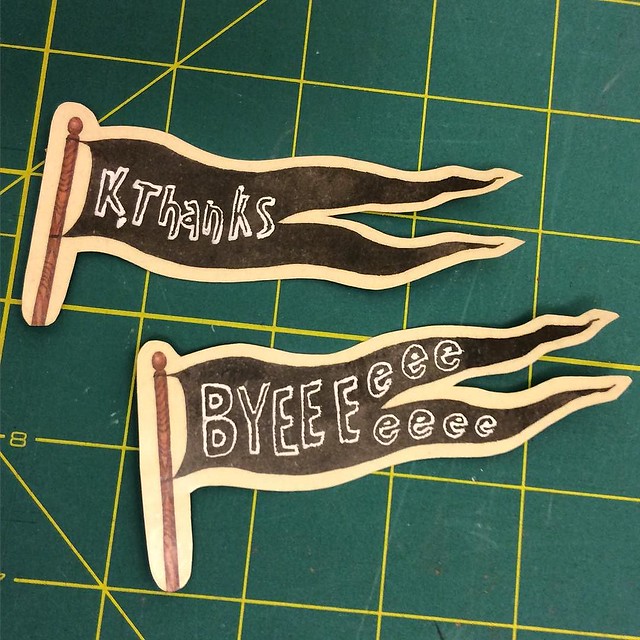
For fun I cut down a few of the headers and made them into stickers, where the gel pen was printed on the protective coating, so it can be wiped away and changed as needed.
And the final notepad, which was printed on a natural speckled paper. These notepads are available in my shop. LOVE how it came out. It’s rare that I am inspired and then able to start working on something immediately. That helps so much! I need to make a bar graph that shows how the likeliness of a project coming to fruition declines rapidly as time passes.
Another goal I had for the 100 day project was to update some photos from some classic oldies from my shop, like my recycled envelope stationery sets. They used to be a top seller and I had a lot of returning customers for just this product, but when I let my shop slide they kind of got forgotten about. I still love the product, but I think I need to breathe new life into the listings.
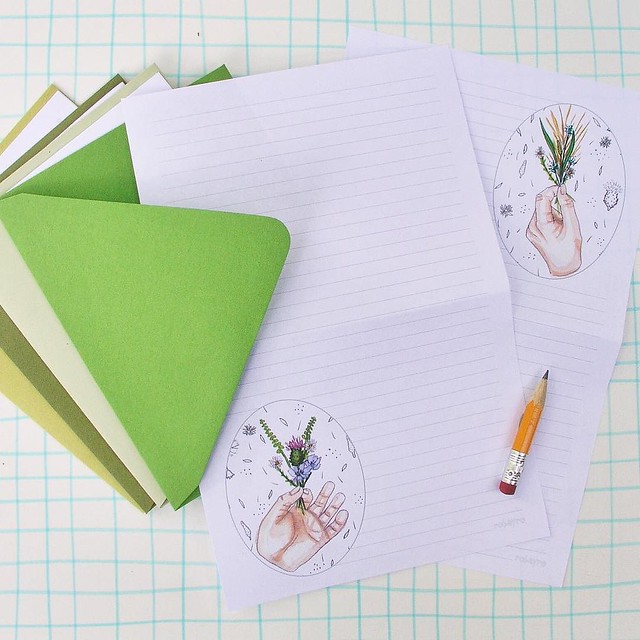
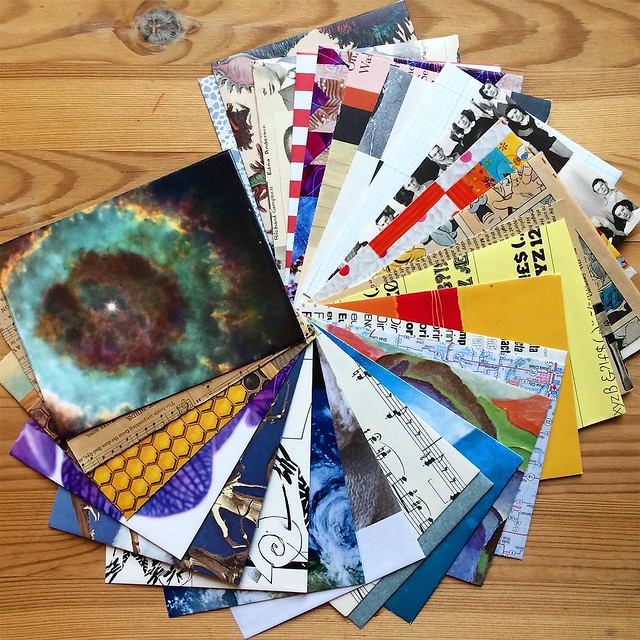
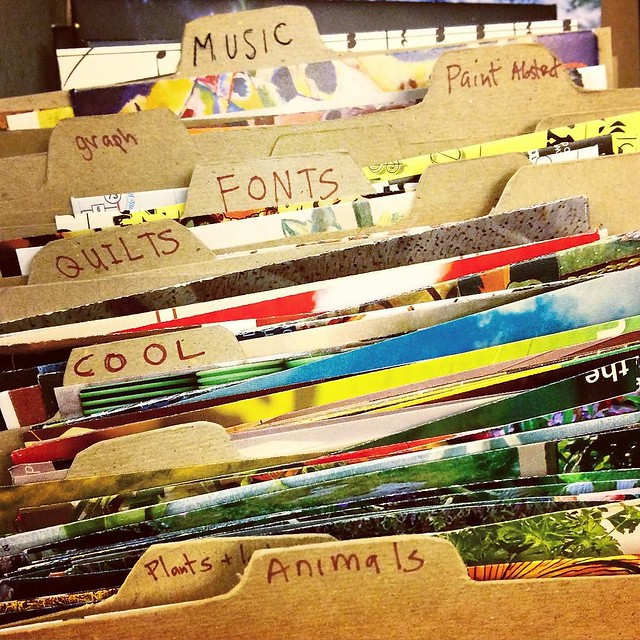
I made a bunch of new envelopes to replenish my stock. I use an old shoe box (as pictured above) to sort and categorize the envelopes. It helps when assembling them, so I know each pack gets a good variety.
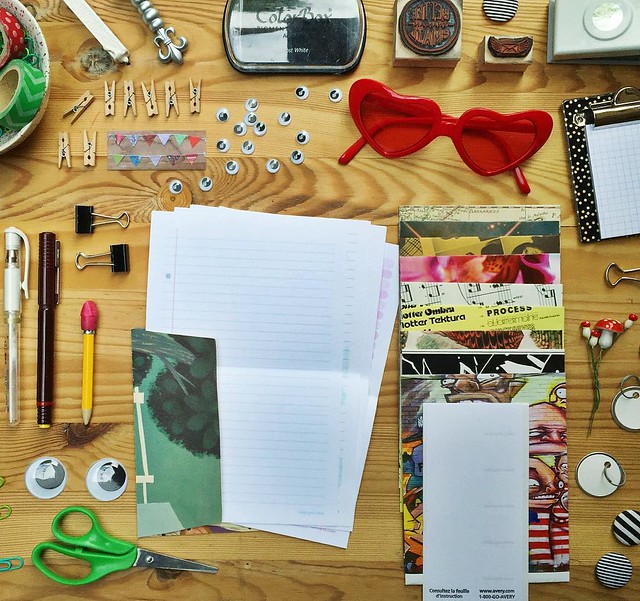
And here was an attempt to take a new product picture. One thing people have told me before on a number of occasions is that they don’t understand or know what this product is, and even though I love this picture, I don’t think it helps clarify that. I detail what the product is exactly in the listing, but I think most people look at the picture and decide from there if they are interested or not, and so many may not even get to the details of the listing. Maybe the craziness of this pic would make people click just to find out exactly what is going on? I just don’t know how to photograph this product in a way that makes sense, because all the envelopes are different and the stationery designs are a variety as well. If anyone has any suggestions, I’d love to hear it. Another item on my list for the 100 days (but that I never got to) was of a video that would show what the sets are like.
Looks like I will be back with one last post to wrap things up. Catch up on the previous posts here:
First part, Second part, Third part
Save
Save
Save
Save
Save
robayre
Hi, I'm Robyn and I was Hatched from a Kinder Surprise Egg. Graphic Designer by day, Maker of things by night. I have worked as a graphic artist professionally since I was 16 years old. Went on to get my Bachelors of Art from NIU. I like to share my Artwork online at flickr.com/photos/robayre and on my own personal website http://www.robayre.com. I also have an online shop http://www.robayre.etsy.com where you can find more of my "crafty" sorts of things, as well as a random piece of artwork here and there. Oh, and I'm also an occasional contributor to Artomat (artomat.org).

your making inspires me. xo